15. ROS Node: process_image
ROS Node: process_image
The second node that you’ll write in this project is the
process_image
node. This client node will
subscribe
to the robot’s camera images and analyze them to determine the position of the white ball. Once the ball position is determined, the client node will request a service from the
drive_bot
server node to drive the robot toward the ball. The robot can drive either left, right or forward, depending on the robot position inside the image.
After you write this node, place the white ball in front of the robot’s camera. If everything works, your node should analyze the image, detect the ball’s position, and then request a
ball_chaser/command_robot
service to drive the robot towards the ball!
Reference
The
process_image.cpp
client node is similar to the
look_away.cpp
client node that you wrote in this lesson. Both nodes contain a ROS
subscriber
and
client
. Please review the
look_away.cpp
node before you start coding the
process_image.cpp
node.
Analyzing the Images
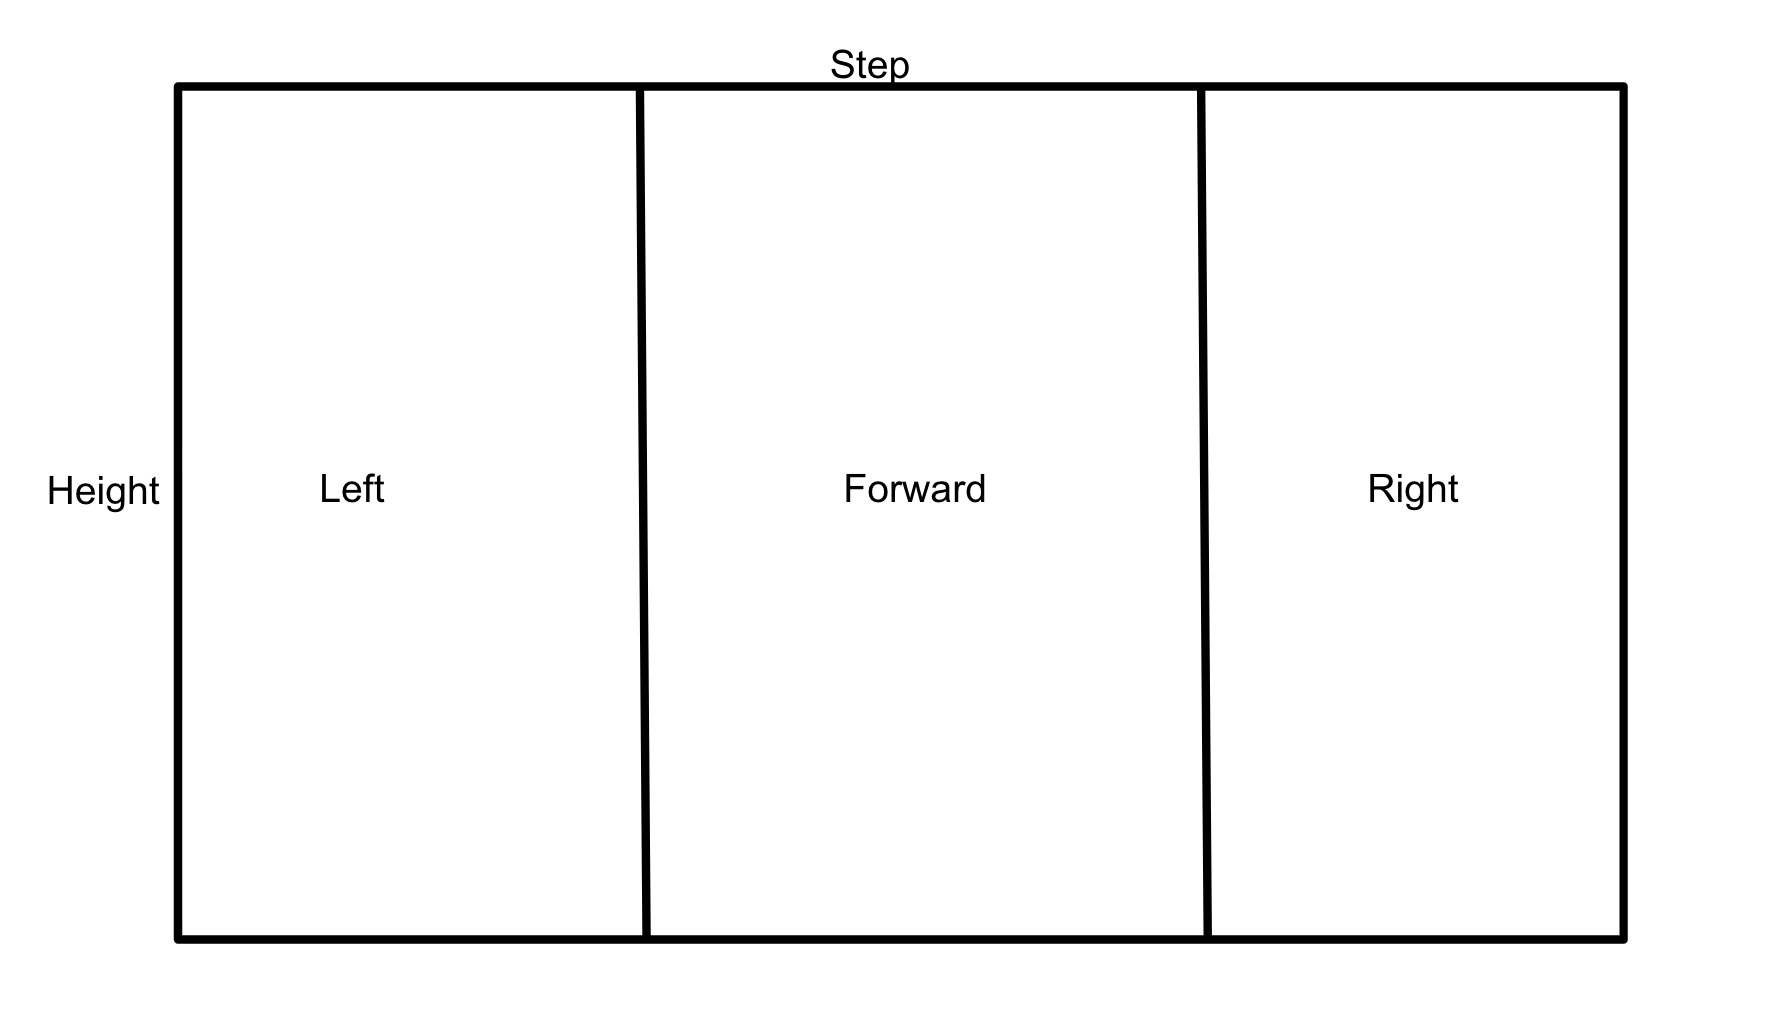
To identify the ball’s presence and position inside the image, you will use a simple approach. First, search for white pixels inside the array image. Since the ball is the only object in the world that is white, white pixels indicate the ball’s presence. Then, once you find that the ball, identify its position with respect to the camera - either the left, middle, or right side of the image.
You’ll have to subscribe to the
/camera/rgb/image_raw
topic to get instantaneous images from the robot’s camera. Inside the callback function, retrieve the image by reading the image data message. The image message contains many fields, such as the image height, data and more. Check out the complete
ROS
sensor_msgs/Image
documentation
.
Now that you have the image messages, you have to loop through the image data. For each pixel compare it to a value of 255 indicating a bright white pixel, if this pixel is found try to identify in which section of the image it fall either left, mid, or right. Then, request a service to drive toward that direction.
Write
process_image.cpp
Now it’s time to write the
process_image.cpp
client node. This node will analyze the image and request services to drive the robot. Create the source code file within the
src
directory of your
ball_chaser
package. It might be a bit challenging to write this program from scratch, thus I am providing you with some hints. Attached below is a piece of the complete code with multiple hints to help you finish the implementation.
#include "ros/ros.h"
#include "ball_chaser/DriveToTarget.h"
#include <sensor_msgs/Image.h>

// Define a global client that can request services
ros::ServiceClient client;

// This function calls the command_robot service to drive the robot in the specified direction
void drive_robot(float lin_x, float ang_z)
{
    // TODO: Request a service and pass the velocities to it to drive the robot
}

// This callback function continuously executes and reads the image data
void process_image_callback(const sensor_msgs::Image img)
{

    int white_pixel = 255;

    // TODO: Loop through each pixel in the image and check if there's a bright white one
    // Then, identify if this pixel falls in the left, mid, or right side of the image
    // Depending on the white ball position, call the drive_bot function and pass velocities to it
    // Request a stop when there's no white ball seen by the camera
}

int main(int argc, char** argv)
{
    // Initialize the process_image node and create a handle to it
    ros::init(argc, argv, "process_image");
    ros::NodeHandle n;

    // Define a client service capable of requesting services from command_robot
    client = n.serviceClient<ball_chaser::DriveToTarget>("/ball_chaser/command_robot");

    // Subscribe to /camera/rgb/image_raw topic to read the image data inside the process_image_callback function
    ros::Subscriber sub1 = n.subscribe("/camera/rgb/image_raw", 10, process_image_callback);

    // Handle ROS communication events
    ros::spin();

    return 0;
}
Copy this code to
process_image.cpp
, and make the necessary changes.
Edit CMakeLists.txt
In addition to all the dependencies you added earlier for
drive_bot.cpp
, these are the dependencies that you should add for
process_image.cpp
:
-
Add
add_executable -
Add
target_link_libraries -
Add
add_dependencies
Build Package
Now that you’ve included specific instructions for your
process_image.cpp
code in
CMakeLists.txt
, compile it with:
$ cd /home/workspace/catkin_ws/
$ catkin_make
Launch File
Edit the
ball_chaser.launch
file saved under
/home/workspace/catkin_ws/src/ball_chaser/launch
and add the
process_image
node to it.
Now, launching this file should run the
drive_bot
and
process_image
!
Test
process_image
To test if the code you just wrote is working as expected, first launch the robot inside your world and then run both the
drive_bot
and
process_image
nodes.
1- Launch the robot inside your world
This can be done by launching the
world.launch
file:
$ cd /home/workspace/catkin_ws/
$ source devel/setup.bash
$ roslaunch my_robot world.launch
2- Run
drive_bot
and
process_image
This can be done by executing
ball_chaser.launch
:
$ cd /home/workspace/catkin_ws/
$ source devel/setup.bash
$ roslaunch ball_chaser ball_chaser.launch
3- Visualize
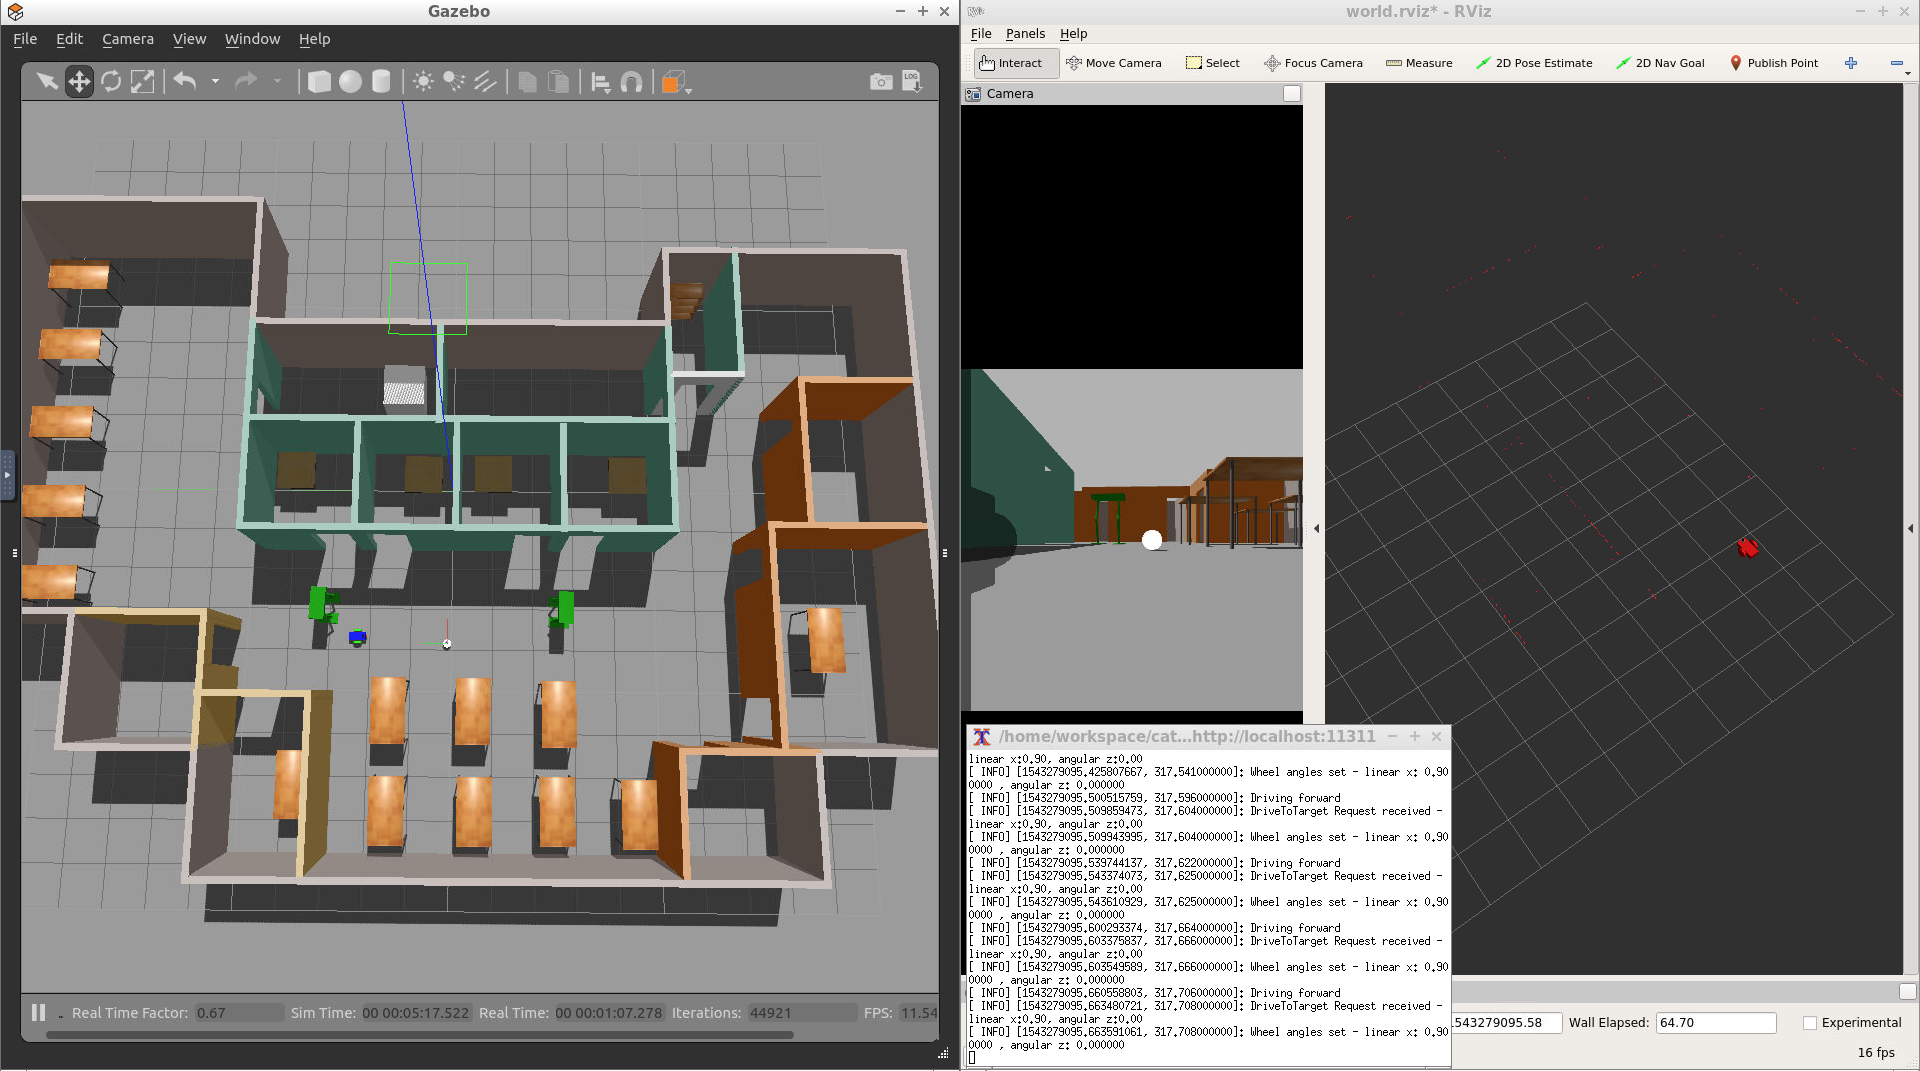
To visualize the robot’s camera images, you can subscribe to camera RGB image topic from RViz. Or you can run the rqt_image_view node:
$ cd /home/workspace/catkin_ws/
$ source devel/setup.bash
$ rosrun rqt_image_view rqt_image_view
Now place the white ball at different positions in front of the robot and see if the robot is capable of chasing the ball!
Task Description:
Follow these steps to create the
process_image
node:
Task Feedback:
Great job!